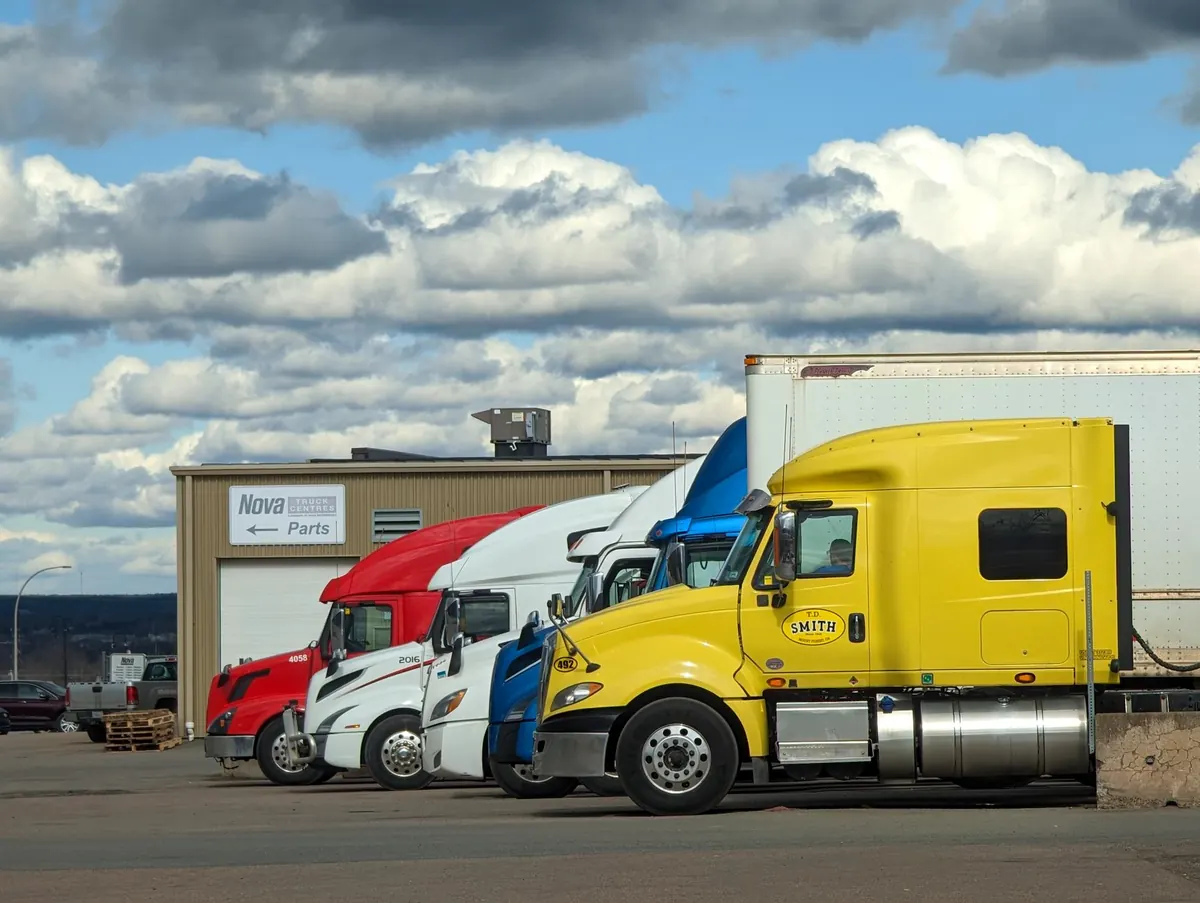
Weathering Your Model Lorry: 5 Beginner Techniques for Realistic Dirt, Rust and Wear
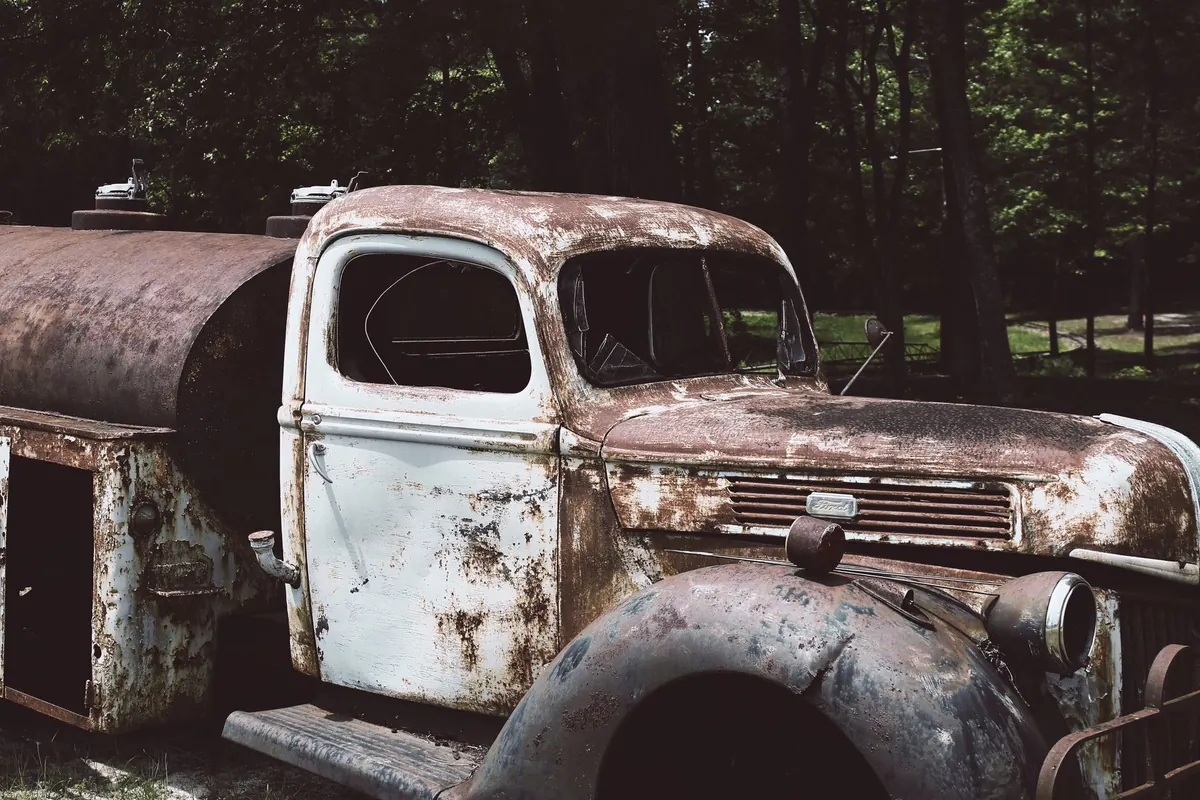
A factory-fresh model lorry looks smart on the shelf, but it rarely looks like a truck. Real working vehicles carry a story in their dirt: the black smear behind the exhaust stack, the pale dust tide-line creeping up the mudflaps, the rust bloom where a stone chip was left too long. Weathering is how you write that story onto a model, and you don't need an airbrush or twenty years of experience to start. Five straightforward techniques — washes, dry brushing, pigment powders, chipping and a protective matte coat — will take a clean model and make it look like it has just come off a shift.
Read the Truck Before You Touch a Brush
Before mixing anything, look at photographs of the real thing. A quarry tipper and a long-haul tractor unit get dirty in completely different ways. The tipper wears grit along the tailgate and rear chassis; the tractor unit collects a grey film over the fuel tank and a dark oil stain around the fifth wheel. Match your model to a job, then decide how far gone it is: lightly used, mid-shift, or overdue a wash in February.
Then prepare the surface. Wash the model in warm water with a drop of washing-up liquid to remove mould release and finger grease, and let it dry fully. If you plan to use washes in panel lines, brush or spray a thin gloss clear coat first — gloss lets a wash run along a line instead of pooling on flat paint. Buy one cheap second-hand model to practise on. Weathering a favourite first is the classic way to learn regret.
Washes: Depth in the Panel Lines
A wash is thinned paint that settles into recesses and leaves dirt behind. Acrylic washes, enamel washes and oil paint thinned with white spirit all work; oils give you the longest working time, which makes them forgiving for a beginner. Mix to about the consistency of skimmed milk.
Load a fine brush, touch it into a door shut line, a grille slat or a row of rivets, and let capillary action pull the colour along. Don't flood the whole panel. Choose a dark grey-brown rather than pure black — pure black reads as a cartoon outline, while brown-grey looks like road film. When the wash has dried to a dull sheen, clean up the excess with a brush barely dampened with thinner, wiping across the line rather than along it. Do the chassis, wheel arches and underbody last, and use a heavier mix there.
Dry Brushing: Highlights and Wear
Dry brushing adds light to high points, which is what wear looks like. Take a flat brush, dip it in the paint, then wipe almost all of it off on kitchen paper until the bristles barely transfer colour. Drag the brush lightly across detail — chassis rails, cross members, mudflap brackets, step edges, the tops of rivets.
Work in layers, darkest first. A chassis often looks right with a rust brown pass followed by a pale grey dust pass. Finish with a touch of silver on the few places a driver's boots or a swinging door would polish through to bare metal: step treads, door handles, the edge of a catwalk. If your first stroke looks like a painted stripe, there is still too much paint on the brush.
Pigment Powders: Mud Where It Belongs
Pigments are dry powders — earth, dust, soot, rust — that give the soft, matte texture no paint can copy. Apply them with a soft brush, dry, and build slowly. Where you put them matters far more than how much you use:
- Wheel arches and mudflaps: the heaviest build-up, thrown rearwards from the tyres.
- Lower cab and doors: a fine dust film that fades out towards the waistline.
- Rear of a tipper or box body: grimy soot around the exhaust and tailgate.
- Chassis and fuel tank: warm rust tones mixed into road grime.
- Fifth wheel plate: a slick grey grease sheen, never a dry powder.
To fix pigments, either mist them with matte varnish from a good distance or use a proprietary pigment fixer. You can also mix powder with water and a drop of washing-up liquid to make a paste, paint it on where mud would cling, then let it dry. Dry pigment looks lighter and dustier; fixing it darkens and settles it, so test the result on a scrap panel before you commit to a whole cab.
Chipping and Rust, Kept Deliberate
Chips draw the eye, so use fewer than you think. Real damage starts where paint gets struck or scraped — wheel arch lips, mudflap brackets, door bottoms, step panels, the leading edge of a cab roof.
- Tear a small piece of packing foam with tweezers to make an irregular sponge.
- Dab it in dark rust brown, then blot most of it off on paper.
- Touch the surface lightly and let the sponge pattern do the work. Don't drag it.
- Add a smaller dab of lighter rust inside the dark patch, then a pinprick of silver for exposed metal.
- Seal with matte varnish before the next layer so earlier chips stay crisp.
Hairspray and chipping fluid give a finer, more scattered result, but the sponge method costs almost nothing and is far easier to control on a first attempt.
Wheels, Glass and the Final Matte Coat
Wheels give a weathered lorry away. Factory-black tyres look wrong under a dusty cab, so brush on a thin grey-brown film and work pigments into the tread. Rust the brake drums and hubs a little, and keep the wheel nuts slightly cleaner — they get handled. Leave the windscreen mostly clean, or better, mask two clean arcs where the wipers sweep. That single detail sells the whole model.
Finish with two or three light coats of matte varnish, masking glass, lenses and mirrors first. Vary the sheen: flat matte on body panels, satin on the chassis where oil and grease live. Work in a ventilated space and follow the instructions on every product you use.
Start on Something Cheap
Weathering rewards restraint. A model with a subtle wash, dusty mudflaps and three well-placed chips will beat one buried under pigment every time. Work in thin layers, photograph your progress under the same light each session, and stop a step earlier than feels comfortable. When the clean factory finish is gone, you can always add more — taking it back is much harder.
Photo: adanvdo / Pexels