How to Photograph Moving Lorries: Camera Settings, Angles and Safety Rules
There is a particular satisfaction in catching a lorry mid-motion: the blur of the wheels, the driver's arm resting on the window, the trailer graphics stretched across the frame. A parked truck is easy. A moving one tests your timing, your settings and your judgement about where you stand. Get those three right and you will come home with frames that look like they were taken by someone who has done this for years.
Start with the light, not the camera
Before you think about shutter speeds, think about where the sun is. Side-on light reveals the shape of a cab and the ribs of a trailer. Front-three-quarter light, with the sun behind you and slightly to one side, gives the cleanest results and keeps the number plate readable. Straight-on backlight is dramatic but usually ends in a silhouette with a blown-out sky.
In the UK and much of northern Europe, the two hours after sunrise and the two before sunset are the sweet spots. The sun is low, shadows are long, and paintwork looks richer. Midday sun sits high and hard, flattening panels and burning highlights on chrome.
Overcast days are not wasted. A bright grey sky acts like a giant softbox, which is ideal for dark-coloured units and for freight operators whose liveries are mostly black or navy. You lose the drama but gain detail.
Which direction is the traffic coming from?
If you are on a roadside spot, work out the direction of the dominant traffic before you set up. Photographing vehicles coming towards you is easier for focusing and safer for framing, because you see the lorry long before it reaches you. Rear-quarter shots of trucks heading away can be excellent too, but you have less time to react and you are relying on the light being behind you.
Camera settings that work on real roads
Lorries move more slowly than you think, which is good news. On a dual carriageway at 60 mph they will cross your frame in a couple of seconds, but on a roundabout, a depot entrance or an industrial estate road, many are doing 15 to 25 mph. That gives you room to be deliberate.
- Aperture priority, f/5.6 to f/8. Enough depth of field to keep the whole cab sharp, without forcing ridiculously slow shutter speeds in poor light.
- Auto ISO with a sensible ceiling. Set the top limit to something like ISO 6400 if your camera handles it well, so the shutter speed does not drop unexpectedly.
- Continuous autofocus. Use the mode that tracks a moving subject, and pick a single focus point rather than a wide zone. Aim for the cab, not the trailer.
- Continuous drive at medium speed. Three to five frames per second is plenty. A burst of twenty just fills your card.
- Shutter priority when the light is tricky. If you know you need 1/500 sec for a fast-moving truck, set it and let the camera choose the rest.
For sharp, frozen action, 1/500 sec is a comfortable starting point. For a lorry on a slow approach, 1/250 sec will do. Sharpness matters most on the cab: a slightly soft trailer is forgiven, a soft grille and headlight is not.
Panning for speed
Panning keeps the truck sharp and smears the background into streaks, which conveys motion far better than a frozen frame. The technique is simple to describe and fiddly to learn.
- Stand with your feet slightly apart and turn from the waist, not the arms.
- Pick up the lorry early and track it before you press the shutter, so you are already moving at its speed.
- Use a shutter speed around 1/60 to 1/125 sec, and switch on image stabilisation if it has a panning mode.
- Keep turning after the shutter closes. Stopping the swing the moment you fire is the most common cause of blurry pans.
- Expect a low hit rate. Ten usable frames from a hundred attempts is normal.
Practise on buses, vans and cars first. They are far more common than a rare livery and they cost you nothing in missed opportunities.
Angles that make a lorry look like a lorry
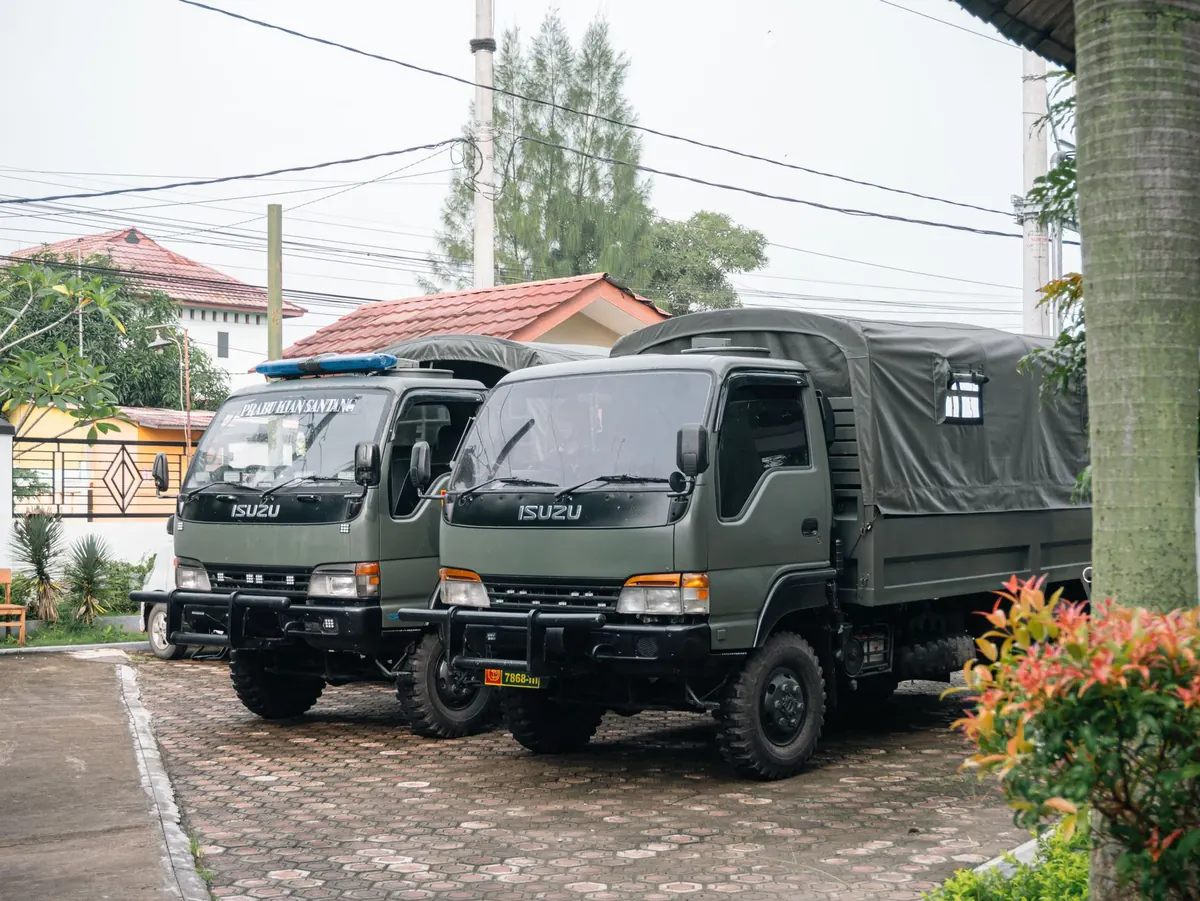
The most flattering angles are the three-quarter front and the three-quarter rear. Both show length as well as height, which is the whole point of a truck photograph. A dead-on side view flattens the shape; a dead-on front view hides the trailer.
Get low. Kneeling or crouching puts the horizon below the cab and makes the vehicle look substantial rather than squat. Just make sure you are not crouching in a position where you cannot see traffic.
Think about what is behind the truck. A lorry photographed against a plain wall, a line of trees or an open sky reads clearly. One photographed against a jumble of parked cars, road signs and wheelie bins gets lost. Move ten metres along the fence and the same shot can improve enormously.
Framing details
Not every good truck photo is a full vehicle. A close frame of a fleet name on a door, a chromed wheel nut, a mudflap or a roof-mounted beacon tells the story of the machine in a different way. These are also the shots that work when you are stuck in a lay-by with a poor background and awkward light.
Safe and legal vantage points
This is the part that matters more than any camera setting. A photograph is never worth a fine, an injury or a confrontation.
- Stay on public land. Public footpaths, town-centre pavements, lay-bys and designated viewing areas are fine. Depot forecourts, service area verges, private industrial estates and farmers' fields are not, unless you have permission.
- Never step onto the carriageway. Not for a second, not for one frame. Hard shoulders and slip-road verges are dangerous places to stand, and stopping on a motorway hard shoulder is illegal for anything other than an emergency.
- Keep off level crossings, bridges with weight or access restrictions, and anywhere with a "no photography" sign. Signs like that are usually there for a reason.
- Do not photograph through a fence into a live yard if you have been asked to stop. If security or a driver asks what you are doing, be brief, polite and honest, then move on.
- Be careful with number plates and drivers. A plate with a recognisable driver at the wheel sits in a grey area of data protection. If you publish images, consider blurring faces and plates unless you have a good reason not to.
For anything involving data protection, publication or commercial use, check the current rules that apply where you are, or take proper advice. The details differ between countries and change over time.
Clothing and visibility
Wear something bright if you are anywhere near traffic, even at a distance. A high-visibility vest costs very little and makes you visible to drivers who are not expecting a person on the verge. Never assume a driver has seen you.
Build a routine and the keepers will come
Arrive at your spot, check the light, decide which direction you are shooting and set your camera before the first truck appears. Shoot a few frames of ordinary vehicles to confirm your exposure and focus are working. Then relax, watch the road and wait.
Keep notes on where you stood, what time it was and which settings you used. Over a few trips you will learn which lay-by catches the afternoon sun and which roundabout exit gives you a clean three-quarter front. That local knowledge is what separates a lucky shot from a portfolio.